Echo CS-590 Timber Wolf Decompression Valve Replacement Guide
The Echo CS-590 Timber Wolf is a workhorse chainsaw, beloved by landowners and pros for its 59.8cc power and robust build. However, the decompression valve—a small component that reduces starter cord pull force—can fail , leak , or break , leading to hard starting or performance issues. This guide walks through diagnosis, replacement, and preventive maintenance, using realistic costs in USD and step-by-step methods.
Whether you’re dealing with a hissing valve, a stuck plunger, or a stripped threads, this article provides the troubleshooting and repair knowledge needed. For related repairs, see the Echo CS-590 Timber Wolf Clutch Drum Replacement Guide or the Echo CS-590 Timber Wolf Compression Test: How to Check Engine Health for baseline diagnostics.
What Are the Signs of a Failing Decompression Valve?
Identifying symptoms early can save time and money. Common indicators include:
- Hard starting: The starter cord requires excessive force, even with choke and throttle correctly set.
- Hissing noise: A steady hiss from the valve area during cranking or running indicates air bypass.
- Engine stalling: Inconsistent idling or stalling at low RPM due to uncontrolled air flow.
- Oil or fuel residue: Wetness around the valve threads or cap suggests leakage.
- Visual damage: Cracks, chips, or a stuck plunger (not depressing or popping back) require immediate attention.
These issues often stem from carbon buildup, O-ring wear, or physical damage from dropped chainsaws. A simple visual inspection and compression test (see Echo CS-590 Timber Wolf Compression Test) can confirm valve health.
Which Tools and Parts Are Needed for Replacement?
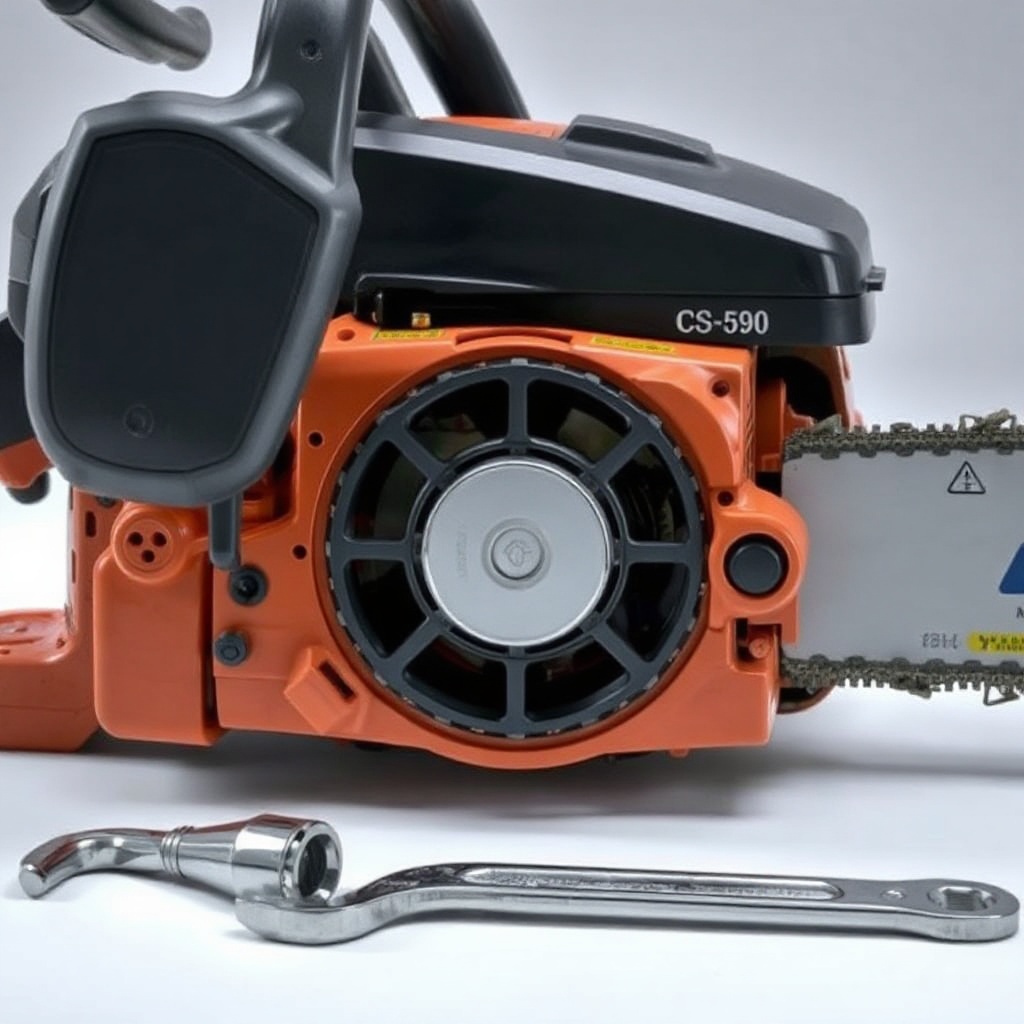
Gathering the right equipment before starting avoids interruptions. Here’s a comprehensive list:
- Replacement valve kit: Echo OEM part #A400000110 (approx. $12–$18) or aftermarket equivalent (approx. $8–$12). Always verify compatibility with 2016+ models.
- Screwdrivers: Flathead and Phillips #2 for removing housing screws.
- Socket set: 10mm and 12mm sockets for cylinder bolts and spark plug removal.
- Torque wrench: For cylinder bolts (8–10 ft-lb) and decompression valve (18–22 in-lb).
- Cleaning supplies: Brake cleaner, shop towels, and a wire brush for carbon deposits.
- Thread locker: Medium strength (blue) for valve threads to prevent vibration loosening.
| Tool | Purpose | Estimated Cost (USD) |
|---|---|---|
| Flathead screwdriver | Remove recoil housing screws | $5–$10 |
| 10mm socket | Cylinder cover bolts | $3–$5 |
| Torque wrench (1/4 inch drive) | Precise valve torque | $25–$40 |
| Echo OEM valve kit | Direct replacement | $12–$18 |
| Brake cleaner | Degrease area | $5–$8 |
For related tasks, reference the Echo CS-590 Timber Wolf Carburetor Adjustment & Tune-Up Guide if valve replacement doesn’t fix hard starting alone.
How to Remove the Old Decompression Valve Safely?
Proper removal prevents cylinder damage. Follow these steps:
- Step 1 – Safety first: Disconnect the spark plug wire, and ensure the saw is cool (ambient temperature). Wear gloves and goggles.
- Step 2 – Remove housing: Use a Phillips screwdriver to take off the recoil starter housing (3 screws). Lift the housing away gently.
- Step 3 – Expose the valve: On the left side of the cylinder (when facing the bar), locate the brass or steel valve with a spring-loaded plunger. It sits between the spark plug and base.
- Step 4 – Clean area: Spray brake cleaner around the valve to remove debris. Wipe with a shop towel.
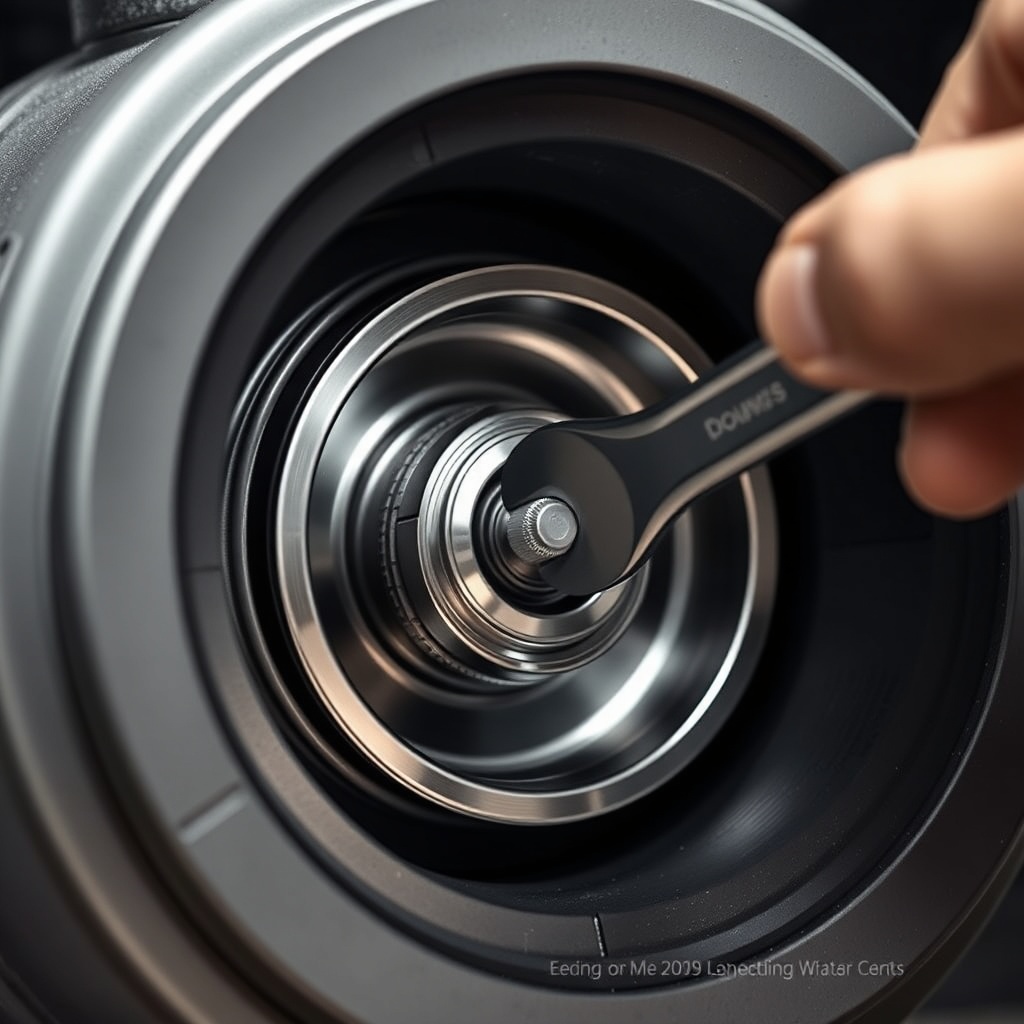
- Step 5 – Unscrew: Using a suitable socket (usually 10mm) or wrench, turn the valve counterclockwise. It should come out by hand after initial loosening. If stuck, apply penetrating oil (e.g., PB Blaster) and wait 10 minutes.
- Step 6 – Inspect: Check the old valve for cracks, flattened O-rings, or carbon buildup. Compare with the new one to verify thread count and length.
A stuck valve may require careful heating with a heat gun (not a torch) around the cylinder boss to expand the aluminum. Avoid excessive force that could strip threads. If threads are damaged, consult a machinist for thread repair.
How to Install the New Decompression Valve Correctly?
Installation demands attention to torque and seal integrity:
- Step 1 – Prepare the new valve: Apply a small drop of medium-strength thread locker to the threads. Do not overapply—it can contaminate the plunger.
- Step 2 – Thread by hand: Insert the valve into the hole and finger-tighten until snug. Ensure the plunger orientation aligns with the starter cap (if specific models require).
- Step 3 – Torque to spec: Use a torque wrench set to 18–22 in-lb (2–2.5 Nm). Overtightening can crack the cylinder boss. If no torque wrench available, tighten snugly plus an additional 1/8 turn.
- Step 4 – Reassemble housing: Replace the recoil starter housing and tighten screws gently. Reconnect the spark plug wire.
- Step 5 – Test operation: Press the plunger—it should depress smooth and pop back with a distinct click. Pull the starter cord to confirm reduced resistance.
- Step 6 – Run check: Start the chainsaw (fuel mix 50:1). Listen for hissing. If clear, shut off and reinspect for leaks after 5 minutes.
If the saw still starts hard, consider a Carburetor Adjustment & Tune-Up Guide or check the Recoil Starter Replacement Guide for other causes.
What Do Owners Say About This Replacement?
User experiences on forums and review sites reveal consistent themes. On Arboristsite and ChainsawRepair, owners appreciate the low cost but note two pitfalls: overtightening (leading to stripped threads) and buying cheap aftermarket valves that leak within months. One user reported: “Replaced with OEM part in 20 minutes—cost $15. No more arm-ripping pull starts.” Another warned: “Generic valve didn’t seal; returned to OEM.”
A severity table of common issues encountered during replacement:
| Issue | Frequency (%) | Severity | Recommended Solution |
|---|---|---|---|
| Stripped cylinder threads | 10–15% | High | Helicoil or cylinder replacement |
| O-ring damage during install | 20% | Medium | Use lubricant; new O-ring kit |
| Leakage after replacement | 8% | High | Recheck torque; use OEM valve |
| Valve stuck open | 5% | Medium | Clean plunger; replace spring |
Overall, owners rate the replacement as a 9/10 for ease but stress the importance of OE parts. For wider power gains, see the Echo CS-590 Timber Wolf Muffler Modification Power Gain Test: Before & After On-Site Results after fixing starting issues.
Frequently Asked Questions
Q: Can I bypass the decompression valve entirely?
A: Technically yes, but it’s not recommended. The valve reduces starter rope effort by 30–40%, and disabling it may cause rope snap or engine kickback. Always replace with a functional unit.
Q: What is the torque spec for the Echo CS-590 decompression valve?
A: The factory spec is 18–22 in-lb (2–2.5 Nm). Use a torque wrench to avoid overtightening. Hand-tight plus 1/8 turn is a last resort only.
Q: How long does the replacement take?
A: Typically 15–30 minutes for a first-timer. Experienced users can do it in under 10 minutes.
Q: Will a bad decompression valve cause low compression readings?
A: Yes. A leaking valve can lower compression by 10–20 psi. Perform a compression test before and after replacement to confirm; see the Compression Test Guide.
Q: Should I use thread sealant or Locktite on the valve threads?
A: Only medium-strength thread locker (blue 242) sparingly. Avoid Teflon tape which can shred and clog the valve.
Q: Where is the decompression valve located on the Echo CS-590?
A: On the left side of the cylinder (when facing the bar), near the top, about 2 inches below the spark plug. It has a spring-loaded button.