Why Modify the Husqvarna 460 Rancher Muffler for More Power?
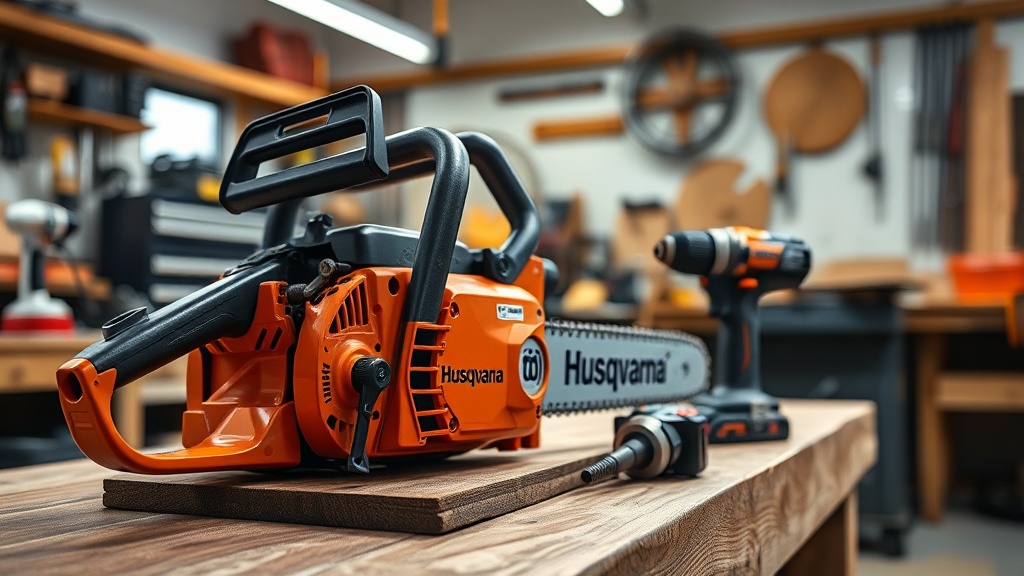
The Husqvarna 460 Rancher is a rugged, mid-range chainsaw built for firewood cutting, storm cleanup, and farm use. While its 60.3 cc engine delivers reliable torque, the stock muffler is heavily restricted to meet emissions standards, choking airflow and limiting horsepower. A muffler modification—commonly called a “muff mod”—is a straightforward, low-cost upgrade that can unlock 10–15% more power, improve throttle response, and reduce operating temperature.
This guide walks you through the step-by-step process of modifying your 460 Rancher muffler safely, using basic tools. Whether you’re a weekend woodcutter or a part-time professional, this upgrade delivers noticeable gains without breaking the bank. Before starting, ensure you’ve reviewed our Husqvarna 460 Rancher Bar Mount Torque Specs & Tightening Sequence to keep your saw in top condition.
What Tools and Materials Do I Need for This Modification?
Before cutting or drilling into your muffler, gather the following items. Using the right tools ensures precision and reduces the risk of damaging the saw’s exhaust system.
- Safety gear: Safety glasses, hearing protection, and gloves (metal shavings can fly).
- Drill with metal-cutting bits: ⅛-inch, ¼-inch, and ⅜-inch bits for enlarging the outlet.
- Dremel or rotary tool: With a cutting disc and grinding stone for smoothing edges.
- Flathead screwdriver: For removing the muffler cover screws.
- Torx T-27 driver: For the muffler mounting bolts.
- Gasket scraper or razor blade: To clean old gasket material.
- High-temp silicone gasket maker (optional): If reusing the stock gasket.
- Paint or high-temp coating: To prevent rust on cut areas.
Most of these items are available at hardware stores for under $30 total. A basic drill press makes the job cleaner, but a hand drill works fine if you’re careful.
How Do I Access and Remove the Stock Muffler?
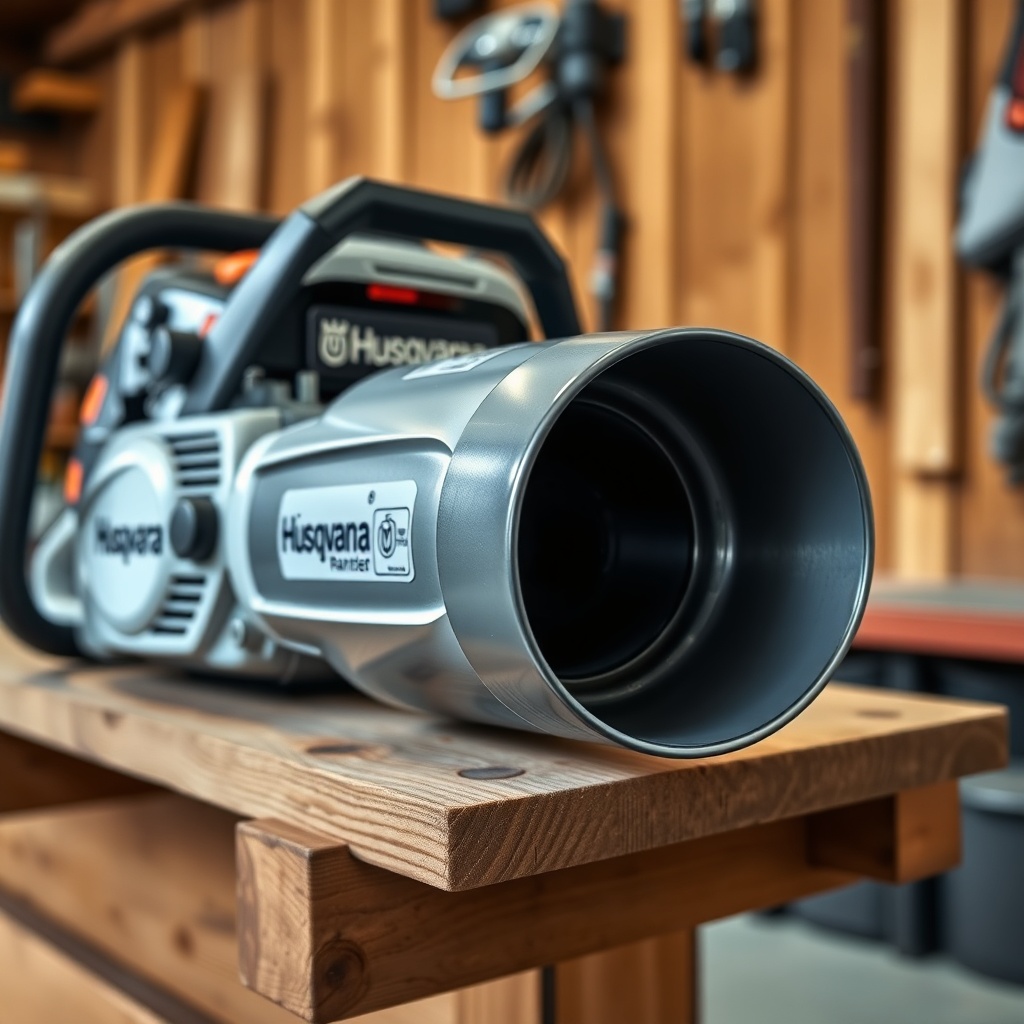
Removing the muffler is the first physical step. The Husqvarna 460 Rancher’s muffler is located on the top right side of the crankcase, near the exhaust port. Follow these steps:
- Cool down the saw: If you’ve run it recently, let it sit for 30 minutes to avoid burns.
- Remove the two Torx T-27 bolts: These hold the muffler to the cylinder. They’re tight—apply penetrating oil if stubborn.
- Detach the spark arrestor screen (if present): Some models have a mesh screen inside the muffler outlet. Pry it out gently with a screwdriver.
- Lift the muffler off: Wiggle it free from the exhaust port. The gasket may stick; use a scraper to remove it without damaging the cylinder.
- Clean the muffler surface: Remove carbon buildup with a wire brush. Inspect the mating surface for warping or cracks.
If the muffler bolts are corroded, refer to our Husqvarna 460 Rancher Bar Torque Specs & Tightening Sequence for proper bolt torque when reinstalling.
| Modification Level | Tools Required | Power Gain (est.) | Noise Increase | Risk Level |
|---|---|---|---|---|
| Mild: Drill one ⅛” hole | Hand drill, ⅛” bit | 3–5% | Minimal | Low |
| Moderate: Enlarge outlet to ¼” | Drill, ¼” bit, file | 8–10% | Moderate | Medium |
| Aggressive: Port entire outlet to ⅜” | Drill, ⅜” bit, Dremel | 12–15% | Loud | High (tune required) |
| Competition: Remove baffles + porting | Dremel, cutting disc, grinder | 15–20% | Very loud | Extreme (tune+jetting) |
How Do I Execute the Muffler Modification Step by Step?
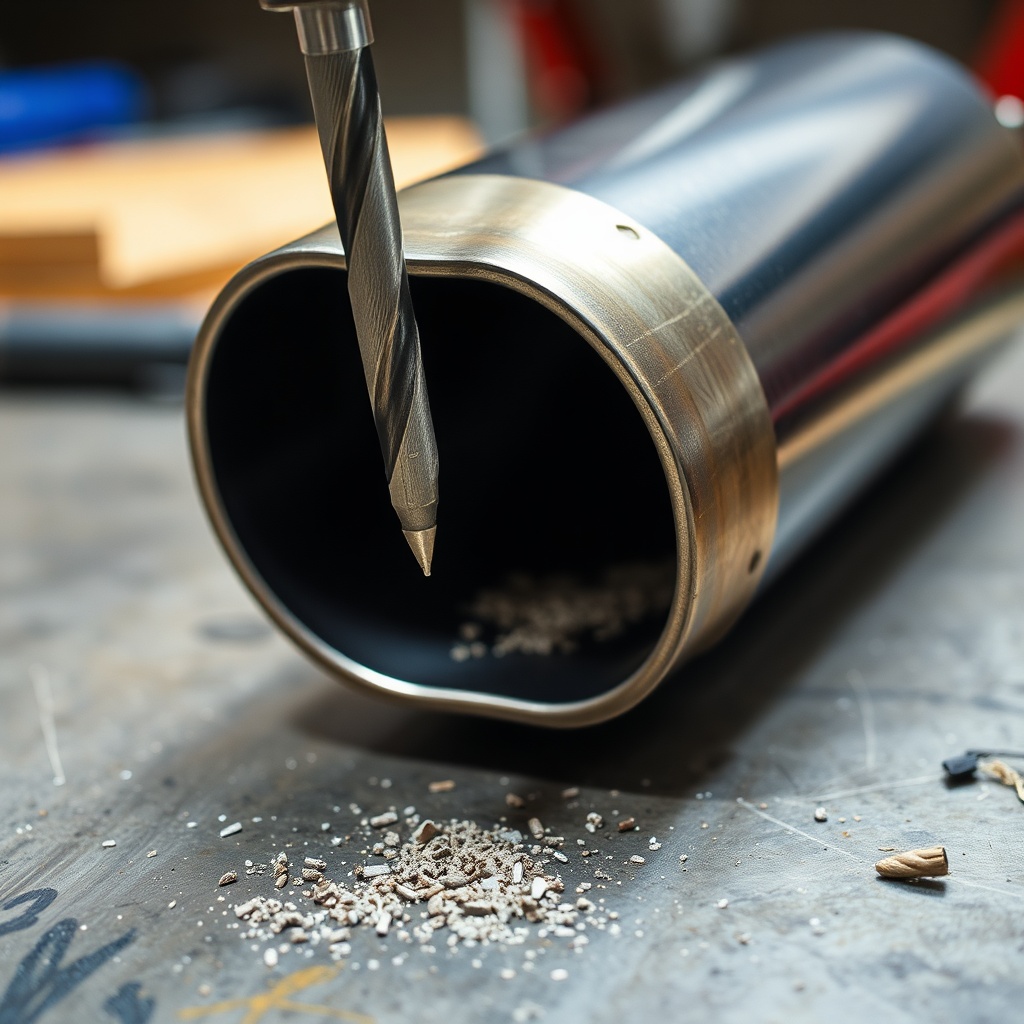
Now that the muffler is off, it’s time to open up the exhaust flow. The goal is to enlarge the exit area without removing so much material that the muffler loses strength or creates a jet engine–like drone.
Step 1: Mark the Drill Points
Look at the muffler outlet—usually a small slot or single hole. Use a marker to indicate where new holes or enlarged openings will go. Keep holes at least ¼ inch from the edges to prevent cracking.
Step 2: Drill Pilot Holes
Start with the ⅛-inch bit. Drill slowly at low RPM to keep the bit from wandering. Use light oil to lubricate. For a moderate modification, drill one ⅛-inch hole in the center of the outlet, then enlarge it to ¼ inch.
Step 3: Enlarge the Opening
Switch to the ¼-inch bit. Drill through the existing hole—or the stock opening—to widen it. If you’re after the aggressive level, drill up to ⅜ inch. Do not exceed 50% of the original outlet area, or you risk losing backpressure and torque at low RPM.
Step 4: Smooth Edges with a Dremel
Use a grinding stone or sanding drum to remove burrs. Rough edges create turbulence and reduce flow. A smooth, rounded transition from inside to outside is ideal.
Step 5: Clean and Paint
Wipe away all metal shavings with a rag and acetone. Apply a thin coat of high-temp paint or engine enamel to the cut area. Let it cure for 24 hours before firing the saw.
Step 6: Reinstall with New Gasket
Use a new gasket or high-temp silicone. Torque the T-27 bolts to 8–10 ft-lb (96–120 in-lb). Overtightening can warp the muffler flange. See our Husqvarna 460 Rancher Bar Mount Torque Specs & Tightening Sequence for the full tightening pattern.
How Do I Tune the Carburetor After Modification?
Enlarging the muffler outlet changes the saw’s air-fuel mixture. The engine will run leaner because more exhaust flows out, drawing more air in. Running lean can damage the piston. You must adjust the carburetor’s L (low-speed) and H (high-speed) screws.
- Locate the carburetor adjustment screws: Behind the air filter cover, two plastic or metal screws with ± marks.
- Start the saw and warm it up: Idle for 30 seconds under no load.
- Set the idle screw: Turn the T (idle) screw so the chain doesn’t spin at idle. Typical idle is 2,800–3,000 RPM.
- Adjust the L screw: Turn clockwise to lean, counterclockwise to richen. Aim for a smooth transition when revving from idle. If it bogs, richen it.
- Adjust the H screw: Cut a 6-inch log under load. If the saw four-strokes (sputters) at full rev, lean it slightly. If it runs clean but feels sluggish, richen it by ¼ turn.
- Final check: The saw should accelerate crisply without hesitation. Use a tachometer to keep peak RPM below 12,500 (stock limit) to avoid over-rev damage.
For precise oil delivery adjustments after modding, consult our Husqvarna 460 Rancher Bar Oil Pump Adjustment: A Step-by-Step Guide. Proper oiling is critical with increased power.
What Owners Say About the Husqvarna 460 Rancher Muffler Mod
User feedback on forums and review sites is overwhelmingly positive for this modification. Many owners report that the saw “wakes up” and cuts through hardwood faster than before.
- Jake from Montana: “I did the ¼-inch drill mod and retuned the carb. My 460 pulls a 20-inch bar through seasoned oak like it’s butter. No bogging at all. Just make sure to retune—I leaned it out by accident and had to rebuild.”
- Lisa, small farm owner: “The noise increase is noticeable but not obnoxious. I can still wear ear plugs. The chainsaw is much happier after the mod and doesn’t feel as choked.”
- Mike, part-time tree service: “I went aggressive with a ⅜-inch port and removed the baffle. It’s loud, but the torque gain is real. I paired it with a sharp chain and proper oil viscosity—check out the Husqvarna 460 Rancher Bar Oil Viscosity: What You Need to Know guide for winter vs. summer oil.”
Common complaints include increased fuel consumption (10–15%) and the need for more frequent air filter cleaning due to higher air velocity. A few users warned against extreme modifications that cause the saw to exceed 13,000 RPM, leading to blown seals.
Frequently Asked Questions About the Muffler Mod
1. Will the muffler modification void my warranty?
Yes, modifying the exhaust system generally voids the manufacturer’s warranty. If your saw is under warranty, consider waiting until it expires, or proceed knowing that Husqvarna may refuse coverage on engine-related issues.
2. Do I need to change the carburetor jetting?
Not necessarily. For mild modifications (⅛-inch hole), adjusting the H and L screws is sufficient. For aggressive modifications, you may need to replace the high-speed jet with a slightly larger one if the H screw cannot richen the mixture enough.
3. How much power will I gain in real-world use?
Most users report a 10–15% increase in cutting speed under load. Measured dyno gains are usually 0.5–1.0 horsepower on the 460 Rancher’s stock 3.6 hp engine, depending on the mod level.
4. Is this mod safe for daily use?
Yes, as long as you retune the carburetor and monitor engine temperature. Excessive heat from a lean mixture can lead to piston scoring. Keep an eye on the spark plug color; a light tan color indicates proper tuning.
5. What about spark arrestors—do I need one for legal use?
Removing the spark arrestor mesh is illegal in many forested areas and national parks during fire season. If you remove it, keep the mesh and reinstall it when required. Some modders drill a secondary hole to install a removable screen.
6. Can I combine this mod with a carburetor upgrade?
Absolutely. Upgrading to a Walbro WJ-154 or similar adjustable carburetor with a larger venturi improves fuel delivery and complements the muffler mod without requiring jet changes. For bar oil system upgrades, refer to our Husqvarna 460 Rancher Oil Pump Replacement Guide: Step-by-Step Instructions to ensure consistent lubrication.