Introduction
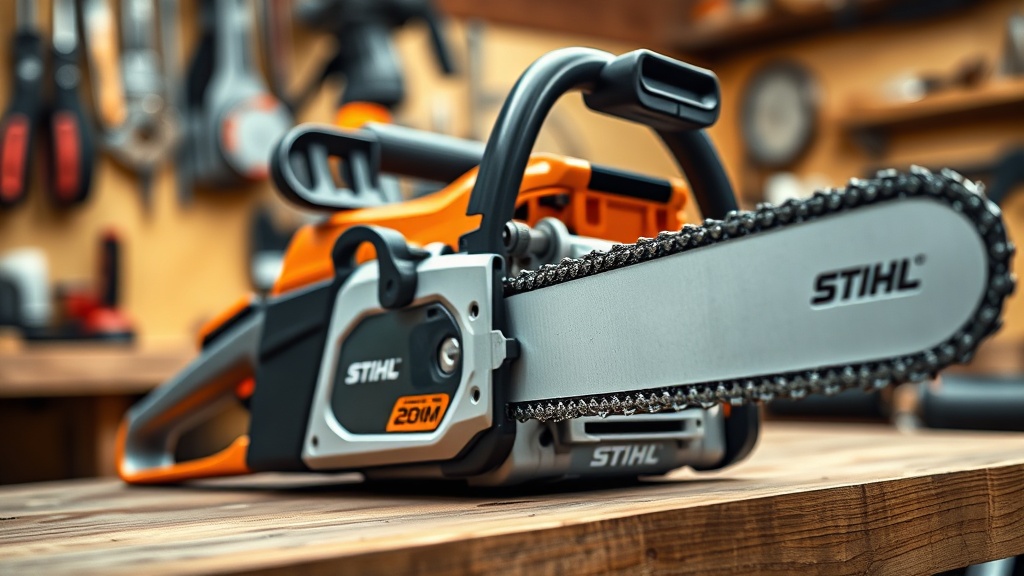
The Stihl MS 261 C-M chain brake system is the single most critical safety component on this professional-grade saw. A properly functioning chain brake can mean the difference between a minor kickback event and a catastrophic injury. This guide provides a comprehensive, hands-on approach to testing and adjusting the chain brake on your MS 261 C-M, ensuring it responds correctly every time. We’ll cover the specific ergonomic checks, mechanical adjustments, and real-world owner insights to keep this safety feature in peak condition.
How Do You Test the Chain Brake on a Stihl MS 261 C-M?
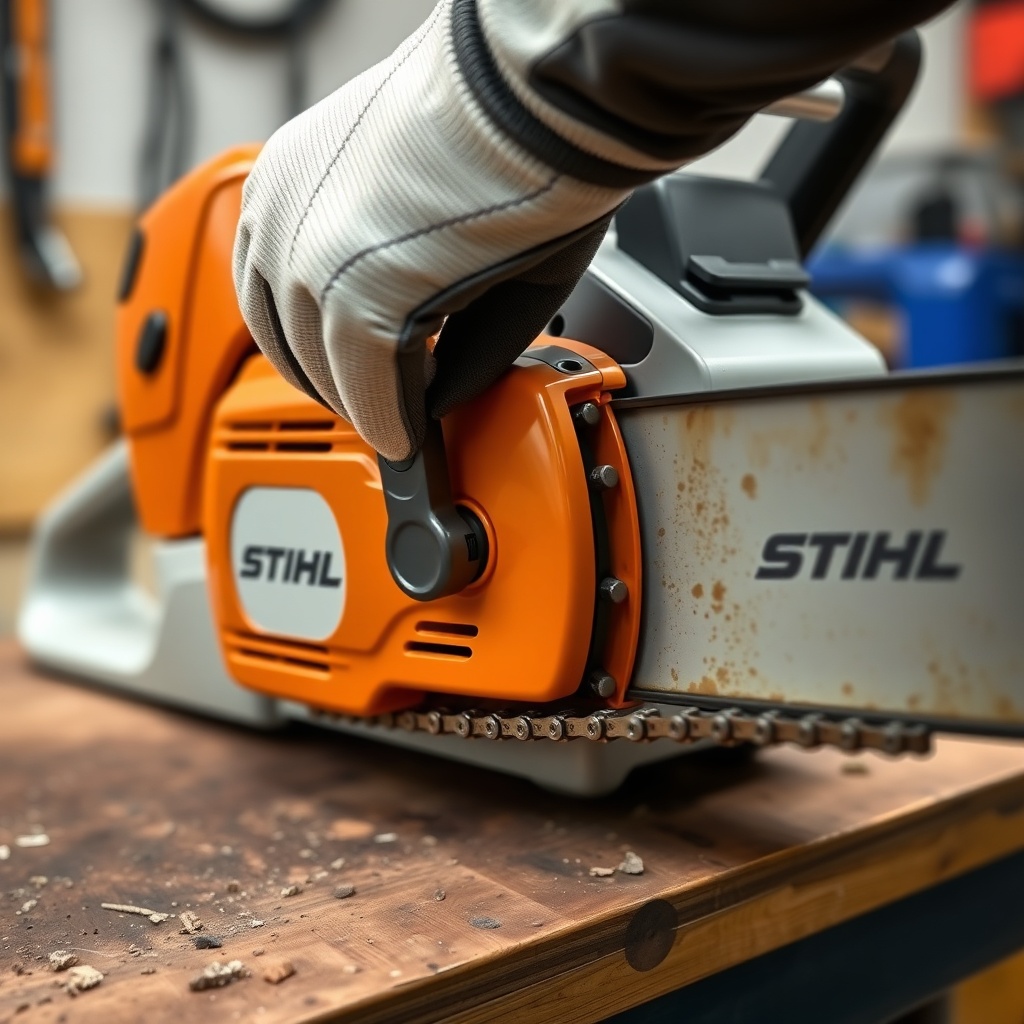
Testing the chain brake should be done before every use and after any significant impact or drop. The procedure is straightforward but must be performed with the engine running at idle speed. Begin by ensuring the saw is on a stable, flat surface with the chain properly tensioned. With the engine running, grip the front handle firmly. Use the back of your left hand (or your right, depending on saw orientation) to push the chain brake lever (the front hand guard) forward. The brake should engage immediately, stopping the chain within a fraction of a second. If the chain does not stop or stops slowly, you have a problem that requires immediate attention. Next, test the release: pull the brake lever back towards the handlebar until it clicks into the released (disengaged) position. The chain should spin freely. Repeat this test three times to ensure consistency.
For a more rigorous test, some professionals perform a “live kickback” simulation. With the saw running at full throttle, simultaneously push the chain brake forward. The brake should engage with an audible clunk and stop the chain instantly. This tests the inertia-activated mechanism as well as the manual lever. Do not attempt this test without proper protective equipment and a secure work area.
If you suspect any electrical issues affecting the brake system, particularly with the M-Tronic control unit, start with a Stihl MS 261 C-M Spark Plug Replacement Guide to rule out ignition-related problems that could complicate brake engagement.
What Are the Common Signs of a Failing Chain Brake?
Ergonomics and safety are intertwined, and a failing chain brake manifests through clear physical signs. The following table breaks down the severity of common symptoms and the likely mechanical causes. Recognizing these early can prevent a critical failure.
| Symptom | Severity Level | Likely Cause | Action Required |
|---|---|---|---|
| Brake lever feels loose or floppy | High | Worn or broken brake band spring | Replace brake band assembly |
| Chain stops slowly (over 0.5 seconds) | High | Glazed or oil-impregnated brake band | Clean or replace brake band |
| Brake engages spontaneously while cutting | Medium | Dirt or debris in the brake mechanism | Thorough cleaning of the clutch drum and brake assembly |
| Brake fails to engage with manual lever push | Critical | Broken actuator cam or linkage | Immediate repair before any further use |
| Brake releases on its own while idling | Medium | Worn tension spring in the release mechanism | Replace release spring |
| Metallic grinding noise when brake is applied | High | Worn brake band lining or damaged clutch drum | Inspect and replace clutch drum; check brake band |
If you experience a grinding noise, it is often linked to the clutch drum. A damaged clutch drum can interfere with the brake band’s ability to stop the chain. Consult the Stihl MS 261 C-M Clutch Drum Replacement Guide for detailed instructions on removing, inspecting, and replacing this component.
How Do You Adjust the Chain Brake on a Stihl MS 261 C-M?
Adjusting the chain brake on the MS 261 C-M is not a routine maintenance item like tensioning the chain. Most adjustments involve tightening or loosening the brake band’s attachment point or replacing the band entirely. The only user-serviceable adjustment is the brake band strap tension. Locate the adjustment screw on the side of the saw, usually behind the clutch cover. Use a Torx driver (T20 or T27, depending on the model year) to turn the screw. Turning clockwise typically increases tension, while counterclockwise decreases it. The correct tension is achieved when the brake lever engages with a crisp, positive feel—neither too stiff nor too loose.
A more precise method involves checking the gap between the brake band and the clutch drum. With the clutch cover removed and the brake engaged, you should see a uniform gap of approximately 0.5mm to 1mm between the band and the drum all the way around. If the gap is uneven or non-existent, you may need to reposition the brake band’s anchor point. This is a delicate process best left to experienced technicians. Over-tightening the band can cause it to drag on the clutch drum, generating heat and reducing power. Under-tightening leads to a dangerous delay in stopping.
For saws with M-Tronic, be aware that the electronic control unit can influence the idle speed, which in turn affects the chain’s inertial response to the brake. A saw that idles too high may not stop the chain quickly, even with a mechanically sound brake. If your brake test fails after adjustment, you may need to perform a Stihl MS 261 C-M Carburetor Adjustment & Tune-Up Guide to set the idle speed correctly.
What Is the Proper Ergonomic Grip for Engaging the Chain Brake?
Ergonomics dictate that your left hand should never leave the front handle during operation. The chain brake lever is designed to be engaged by simply pushing your hand forward against the guard—no reaching or repositioning is required. The proper technique involves keeping your thumb wrapped around the handlebar. As you move into a cut, your hand naturally rests near the guard. In a kickback event, your hand instinctively pushes forward, activating the brake. This is why it is critical to practice the motion: from a normal cutting grip, push your hand forward smoothly but firmly to engage the brake. Then, without altering your grip, pull the lever back to release it.
Many users make the mistake of gripping the front handle with their palm on top of the handlebar and fingers wrapped underneath. This “wrist-flick” grip is less stable and can prevent a proper, full-forward push. Instead, maintain a “thumb-wrapped” grip, keeping your hand in line with the handlebar. This provides the mechanical advantage needed to actuate the brake quickly. If you find the lever hard to push, it may indicate a need for lubrication at the hinge points or an adjustment to the tension spring. A stiff lever is an ergonomic hazard that discourages proper use.
For winter operations, cold temperatures can stiffen the brake lever spring and lubricants. This makes engagement more difficult. Review the Stihl MS 261 C-M Winter Starting Tips: Cold Weather Operation Guide to ensure your saw’s safety systems respond correctly in sub-freezing conditions.
How Do You Clean and Lubricate the Chain Brake Mechanism?
Debris accumulation is the number one cause of poor chain brake performance. The brake mechanism resides inside the clutch cover, directly exposed to sawdust, oil, and wood chips. A simple cleaning routine takes 10 minutes and dramatically improves safety and ergonomics. Remove the clutch cover (bar and chain). Use compressed air to blow out all sawdust from the brake band, the tension springs, and the actuator cam. Pay special attention to the pivot points where the brake lever connects to the brake band strap. Then, apply a light machine oil (like 3-in-1 or sewing machine oil) to these pivot points. Do not oil the brake band itself—this would ruin its friction grip.
Inspect the brake band for glazing. A glazed band appears shiny and hard, like polished plastic. This reduces stopping power. You can lightly sand a glazed band with fine-grit sandpaper (400 grit) to restore texture, but replacement is recommended if the glaze is deep. Also, check the condition of the springs. A stretched or broken spring will not retract the band properly. If you notice the band dragging, it is often due to a weak spring. Lubricate the release button (if present on your model) to ensure it does not stick in the depressed position.
If your saw has seen heavy use, especially in dirty environments, you may need to clean the clutch drum area as part of a Stihl MS 261 C-M Fuel System Cleaning: Carburetor, Lines & Filter routine, as fuel system contamination often mirrors brake mechanism contamination from muddy conditions.
What Steps Are Involved in Replacing the Chain Brake Band?
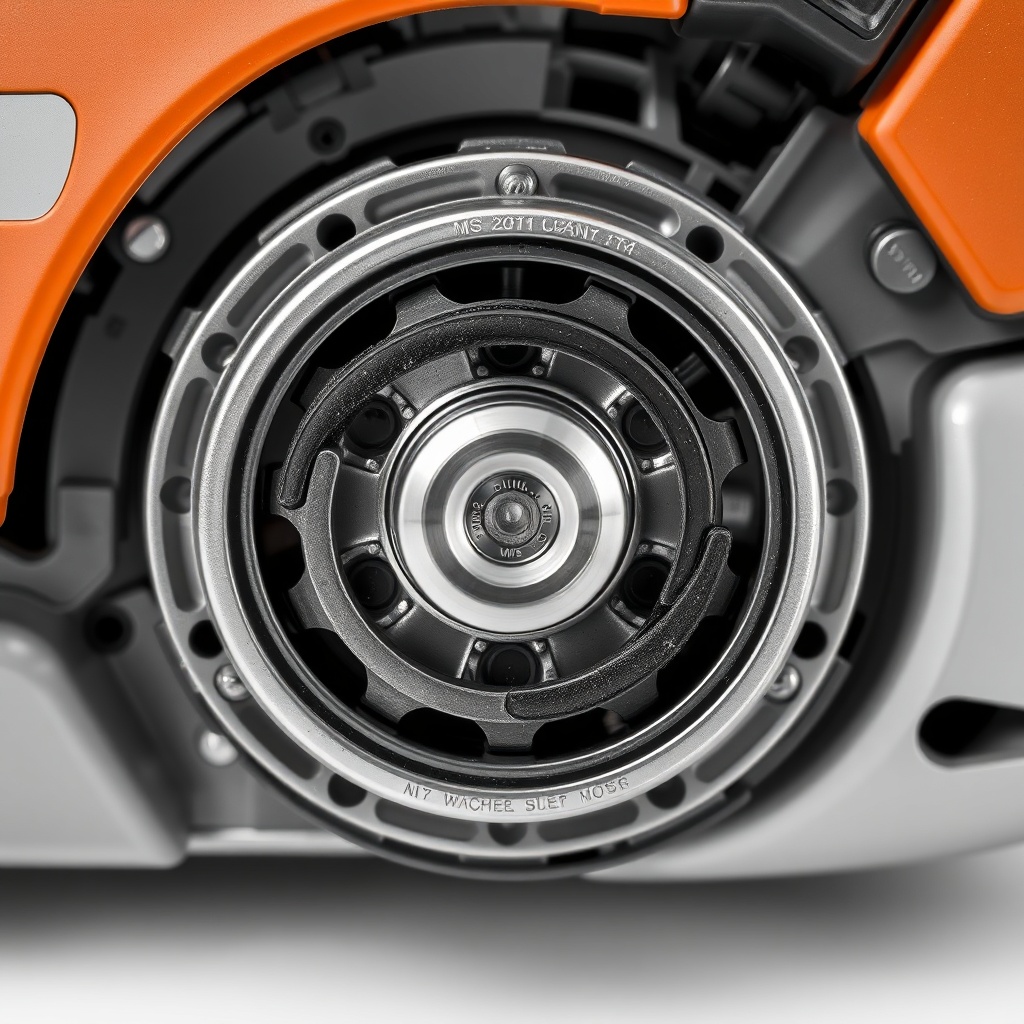
Replacing the brake band is a common repair that restores full braking performance. The entire process can be completed in under an hour with basic tools. Begin by removing the chain, bar, and clutch cover. Locate the brake band assembly. It is a curved metal strap with a friction lining on the inside. On the MS 261 C-M, it is held in place by a spring-loaded pin at one end and a threaded anchor at the other. Remove the retaining spring (carefully, as it is under tension). Slide the old band off the clutch drum. Install the new band, ensuring the friction material faces inward towards the drum. Reattach the anchor point and the spring. The spring must be oriented correctly to pull the band tight when the brake is applied.
After installation, you must adjust the brake band tension as described in the adjustment section above. A common mistake is to overtighten the band, leading to a “brake drag” condition where the chain does not turn freely at idle. After reassembly, start the saw and test the brake both at idle and at full throttle. If the chain overheats or the saw bogs down, the band is too tight. Back off the tension adjustment screw slightly. If the brake does not engage, the band is too loose or the spring is not correctly seated.
Always replace the brake band as a set with the springs and any associated washers. Do not mix old and new parts. For other chain-related issues, refer to the Stihl MS 261 C-M Chain Replacement Guide: Step-by-Step Instructions to ensure your new chain works harmoniously with the brake system.
What Owners Say
Real-world feedback from MS 261 C-M owners highlights a few consistent themes regarding the chain brake. The overwhelming majority praise the brake’s reliability and positive engagement. “It clicks in with authority, and you feel it,” comments one professional arborist with over 200 hours on the saw. The inertia-activated feature is noted as a standout safety element, with several users reporting that the brake engaged automatically during a kickback event, saving them from injury.
However, some owners report that the brake lever can be slightly stiff to release, especially on new saws. This is often attributed to tight springs that wear in after a few hours of use. A minority of users have experienced the brake engaging spontaneously during heavy limbing, usually caused by a buildup of debris in the mechanism. Regular cleaning resolves this issue. One owner noted that after replacing the chain and bar, the brake performance changed slightly, requiring a minor tension adjustment. Overall, the sentiment is that the MS 261 C-M chain brake is a robust, well-designed system that performs its task without fuss, provided it is maintained properly.
Frequently Asked Questions
Q1: How often should I test the chain brake on my Stihl MS 261 C-M?
A1: Test the chain brake before every use. Also, test it after any drop, impact, or after cutting in dirty or abrasive conditions. A quick test takes seconds but can prevent serious injury.
Q2: My chain brake won’t release. What could be wrong?
A2: A stuck release is usually due to dirt or debris in the release mechanism. Remove the clutch cover and clean the area thoroughly with compressed air. If it still sticks, lubricate the pivot points lightly. If the problem persists, the release spring may be broken.
Q3: Can I adjust the chain brake without removing the clutch cover?
A3: No. Proper adjustment, including gap inspection and band tension, requires exposing the brake band and clutch drum. A visual inspection without removal is insufficient. Always remove the cover for adjustments.
Q4: What is the cost of a replacement brake band for the MS 261 C-M?
A4: A genuine Stihl replacement brake band typically costs between £25 and £40 (approximately $30 to $50 USD). It is a worthwhile investment in safety. Aftermarket bands are cheaper but may not provide the same fit or longevity.
Q5: Why does my chain brake feel loose even after adjustment?
A5: A loose feel after adjustment often indicates a stretched or worn brake band spring. The band itself may also be glazed or too thin. Replace the band and springs as a set. Also, inspect the clutch drum for wear.
Q6: Is the chain brake the same on the MS 261 C-M and the MS 261 non-C-M?
A6: The physical brake mechanism (band, lever, and springs) is largely the same. However, the C-M model’s M-Tronic system can slightly affect the engine’s idle speed, which indirectly influences brake performance. The brake itself is mechanically identical.